Tuesday, September 2, 2014

Kitchen talk

I am sharing my kitchen today. Be warned- it is hard on the eyes and needs allot of work. The only reason I am sharing it, is because I wanted to share my kitchen upgrade plans with you. Yep, you read that right! Kitchen upgrade plans are in the works! So here she is, in her 1988 glory. This picture was when we bought the house.


After we moved in, I painted the kitchen and dining room red. So this is what we have been living with for the past three years. It has been more of a distraction than an improvement. The yellow oak cabinets, cracked laminate counter tops and old appliances still scream at you. But I am grateful for this little space. And to show my gratitude I'm going to make her pretty. 


I have plans to refinish the cabinets. I have always loved the "tuxedo" kitchen look, so the upper cabinets are getting a fresh coat of bright white and the lowers will get a rich grey slapped on them. I also have my eye on the Restoration Hardware Duluth pull in a Satin Nickel finish for the drawers and some kind of glass knob for the doors. Something like this. 


We will be purchasing a range hood/microwave to make more room on the counter. This nasty cream laminate counter top has to go. It has held its own, considering its age but it does have a crack in one spot. 


When we get new counter tops installed, I am going to have them cut without the breakfast bar. We never use it. It is in the way of traffic to the sliding door, so it will be nice to have the counter top stop with the cabinet. I also plan to add some bead board or wood planks to the back of this cabinet. Goodbye wooden shelf brackets, you will not be missed! 


When we removed the cabinets that where over the breakfast bar, we were left with this off centered space. We will be adding some "built in" looking shelves to even the space out. 


I have been dreaming of white subway tile. Every kitchen has it, I know... But it looks so clean and polished. I am looking for something that will go with anything and still look great years to come. I will also be toning the paint color down to a soft, light teal/blue color. Good bye red! I love you but I am sick of looking at ya. 


This sink will be going bye-bye-bye. I would like a stainless steal undermount sink with this faucet or something like it. I would like to add a glass pendant light over the sink.


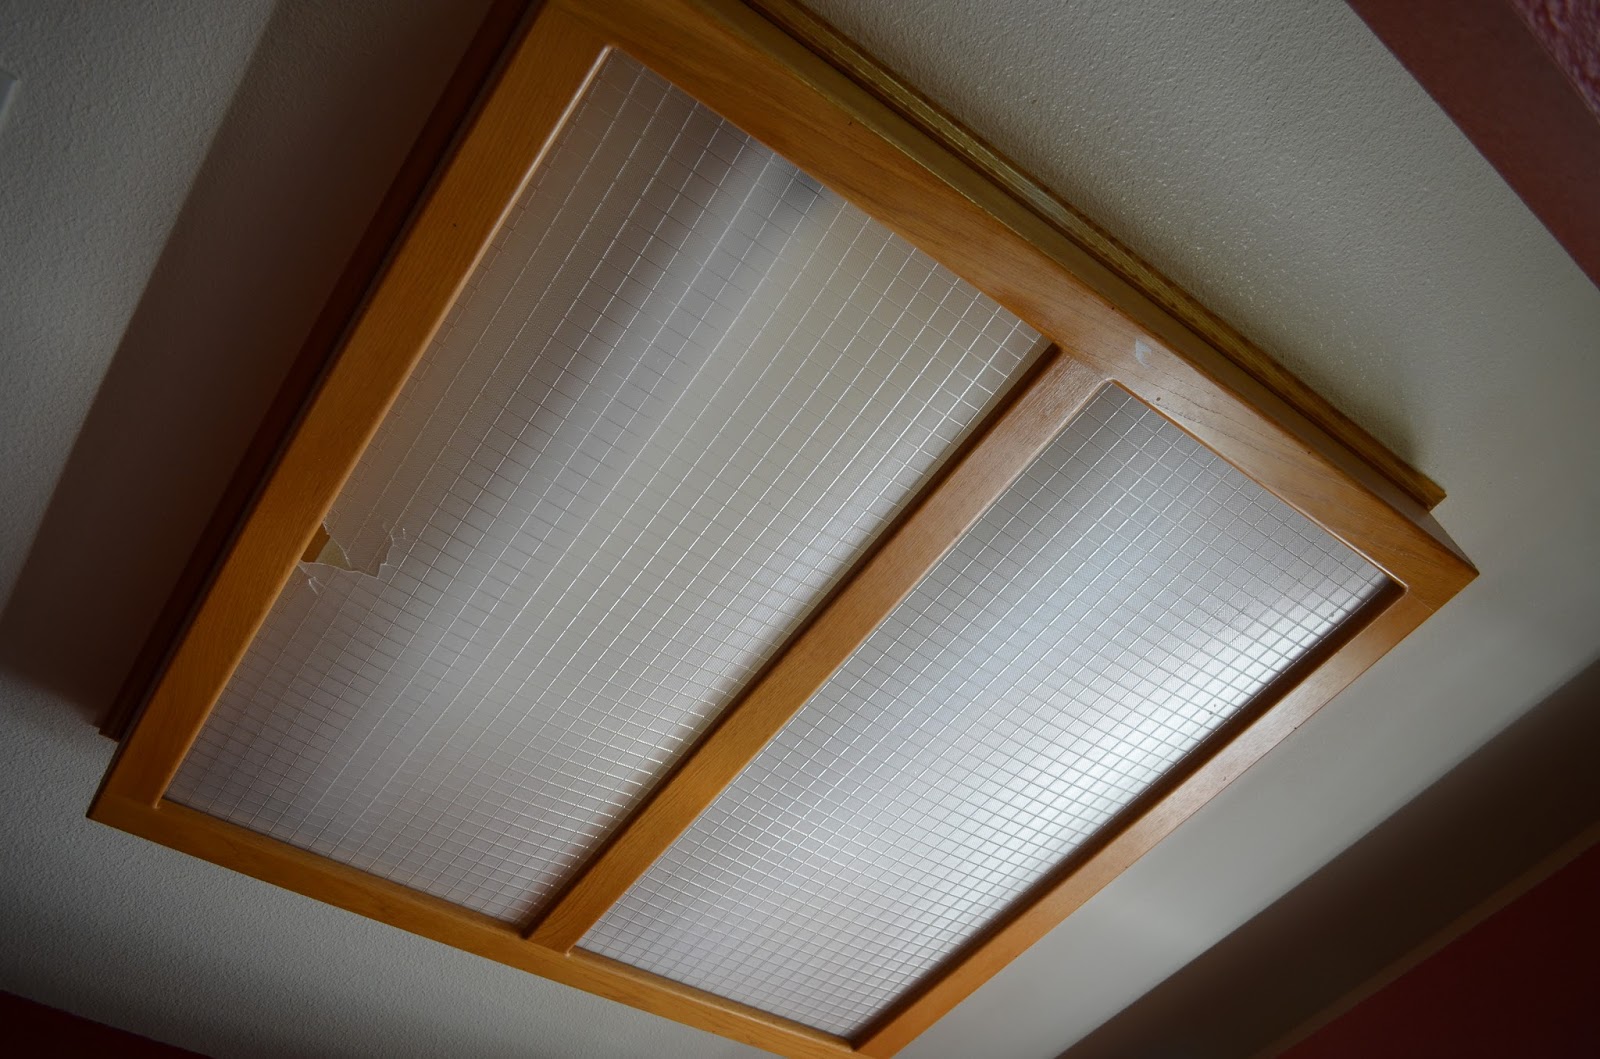
It wasn't enough for the florescent lighting to look ugly on its own, it had to have holes in the acrylic lighting panel. We have replaced it with LED track lighting from Home Depot. 


So that's my game plan. I'm sure it will have changes as I move forward with it. I will keep you posted on the progress. Have a wonderful day! 

Stay Humble
Amber


Thursday, August 7, 2014

Not the popcorn you get to eat

Sorry I've been away. Our house in under construction. We finally FINISHED scrapping the popcorn off our ceilings and removing our carpet. It took us four weekends. My husband and I should look like the Hulk with all the muscles we built doing that job. It was HARD work! 


My husband busted out our bedroom all by himself and we finished the living room/dining room together the same weekend. We pulled up the last of the carpet before we started each room. 


TIP-Cut the carpet in narrow long strips. Roll it up and tape it. This makes for small pieces that are easier to lift, carry and fit in the garbage can. No need to roll the whole room up and break your back. 


When we removed our carpet we were left with enough sand to have our own private beach. No wonder my allergies have been horrible the last four years. This is whats lurking below all you carpet lovers. 


My environment is chaos. Unfinished ceilings above me, dusty concrete below me. In our living room sits only our love seat, the television and a billion drywall tools. Our 6 person dining room table has been downsized to two chairs. Our bedroom consists of our bed and two nightstands pushed together that I am using as my computer desk. The office, guest room and garage are so packed full of our belongings we can hardly walk into the room. And if you are brave enough to attempt it, you will come out injured, if you find your way out at all. It is crazy people! I'm surprised we haven't lost our dogs in this mess.


So after we finished scrapping the popcorn we were left with an unpleasant ceilings. This surprised me because all the "Popcorn Scrapping Tutorials" I read never mentioned this issue. They advised a "little Spackle to the holes" and then moving onto paint but that's not realistic. You are left with drywall tape damage, uneven joints and lose boards that need to be screwed back in place.


For what the ceiling had been through it was okay but not okay enough to cover with paint. I jumped on the phone to the only experienced drywall professional I know to get some advice. Not only did he give me some tips he was over the following weekend to mud the guest room and hallway. We are eternally indebted to him for that! What an awesome guy! Look at the fabulous job he did. This is before we sanded, primed and painted. After pictures to come in another post.


He tried to instruct/show us how to mud the ceiling. My husband and I gave it a go but failed hard. This is a talented skill you don't pick up over night. We were making the job a bigger mess for him so we had to retire early from that profession. Because of that, I don't have a good drywall tutorial. I am all for DIY but my advise is, if you have never done this before, then hire out! And that's what we did. 

So as we wait for our ceilings to be finished I day dream of what flooring we will install. (Stained concrete? Wood looking tiles? Vinyl planks?) I cant wait to have my house back. Its been a huge challenge for this "everything has to be in its place or I will have an anxiety attack" girl. But I know it will be worth it in the end. The ceilings look 1000 times better and they are not even finished. I'm also really happy we knocked them out before the new flooring goes in. 

Till next time
Amber


Monday, July 21, 2014

The dirty truth of a popcorn ceiling

After living with popcorn/stipple (for all you politically correct people) ceilings for almost four years we have decided to finally remove them. Not that we just made that decision. That decision was made before we even closed escrow but now that we are replacing our flooring, we thought it might be a good time to stop procrastinating and get it done. I watched a bunch of videos and read a bunch of tutorials on the subject. It looked easy enough, just on the messy side. So we gave it a go and started in our hallway. 


As we started, it was apparent that our popcorn had been painted over. That is BAD news in the "removing popcorn world" so I jumped back online to search "remove PAINTED popcorn ceiling" and there was not as much information available. The information I did find was telling me that I should hire a professional but I like a good challenge. So I'm writing a post about my experience, not because I am a pro or anything but the world could use a few more tips, tricks and instructions on this daunting task. 

Before you start you should consider the year your home was built. "If your home was built before 1979, the chances are very good that your popcorn ceiling contains asbestos. In fact, it’s not uncommon to find asbestos in acoustic ceilings installed in the 1980s because existing inventories were exempt from the 1978 ban. You can test for asbestos by submitting samples to a laboratory. The cost is minimal and labs are generally listed in the Yellow Pages under "Asbestos -- Consulting and Testing." 
I found that info in this article


Items needed: Respirator, eye protection, metal scrapper, sprayer, plastic sheeting, masking tape and towels for clean up.


1.) Remove everything! This gets messy X1000 of whatever your definition of messy is. It is messier than doing one without paint because you have to use more water. 


2.) Cover your floors in plastic sheeting because you WILL have a small pond (minus the animal life) in your house. Some people recommended covering your walls with plastic as well. When we tried this, some areas came down due to the tape getting wet. We found that wiping the walls down with a towel after each spray was enough. If you have closets I would recommend taping plastic over them. I failed to do this and everything in our linen closet was covered with the waste. Learn from my mistake! 


3.) We purchased a small hand held sprayer from Walmart. This sprayer worked fine but you will have to refill it often and that makes the process even more time consuming. We are going to buy the larger 2 gallon sprayer for the rest of the house. If you are doing more than one room, I recommend buying the larger sprayer. 


4.) Spray generously with warm water. We would spray 2x3 areas at a time and hold the water stream in place for 4-5 seconds. It will be raining in your home! Everyone cautions you on the amount of water you use but with painted popcorn you have to drench it. The paint repels the water (which is why "painted" popcorn is bad in the first place) so it takes twice the amount of water. After you spray, let it sit for 3-5 minutes to soak in. Try to avoid spraying the exposed sheetrock.

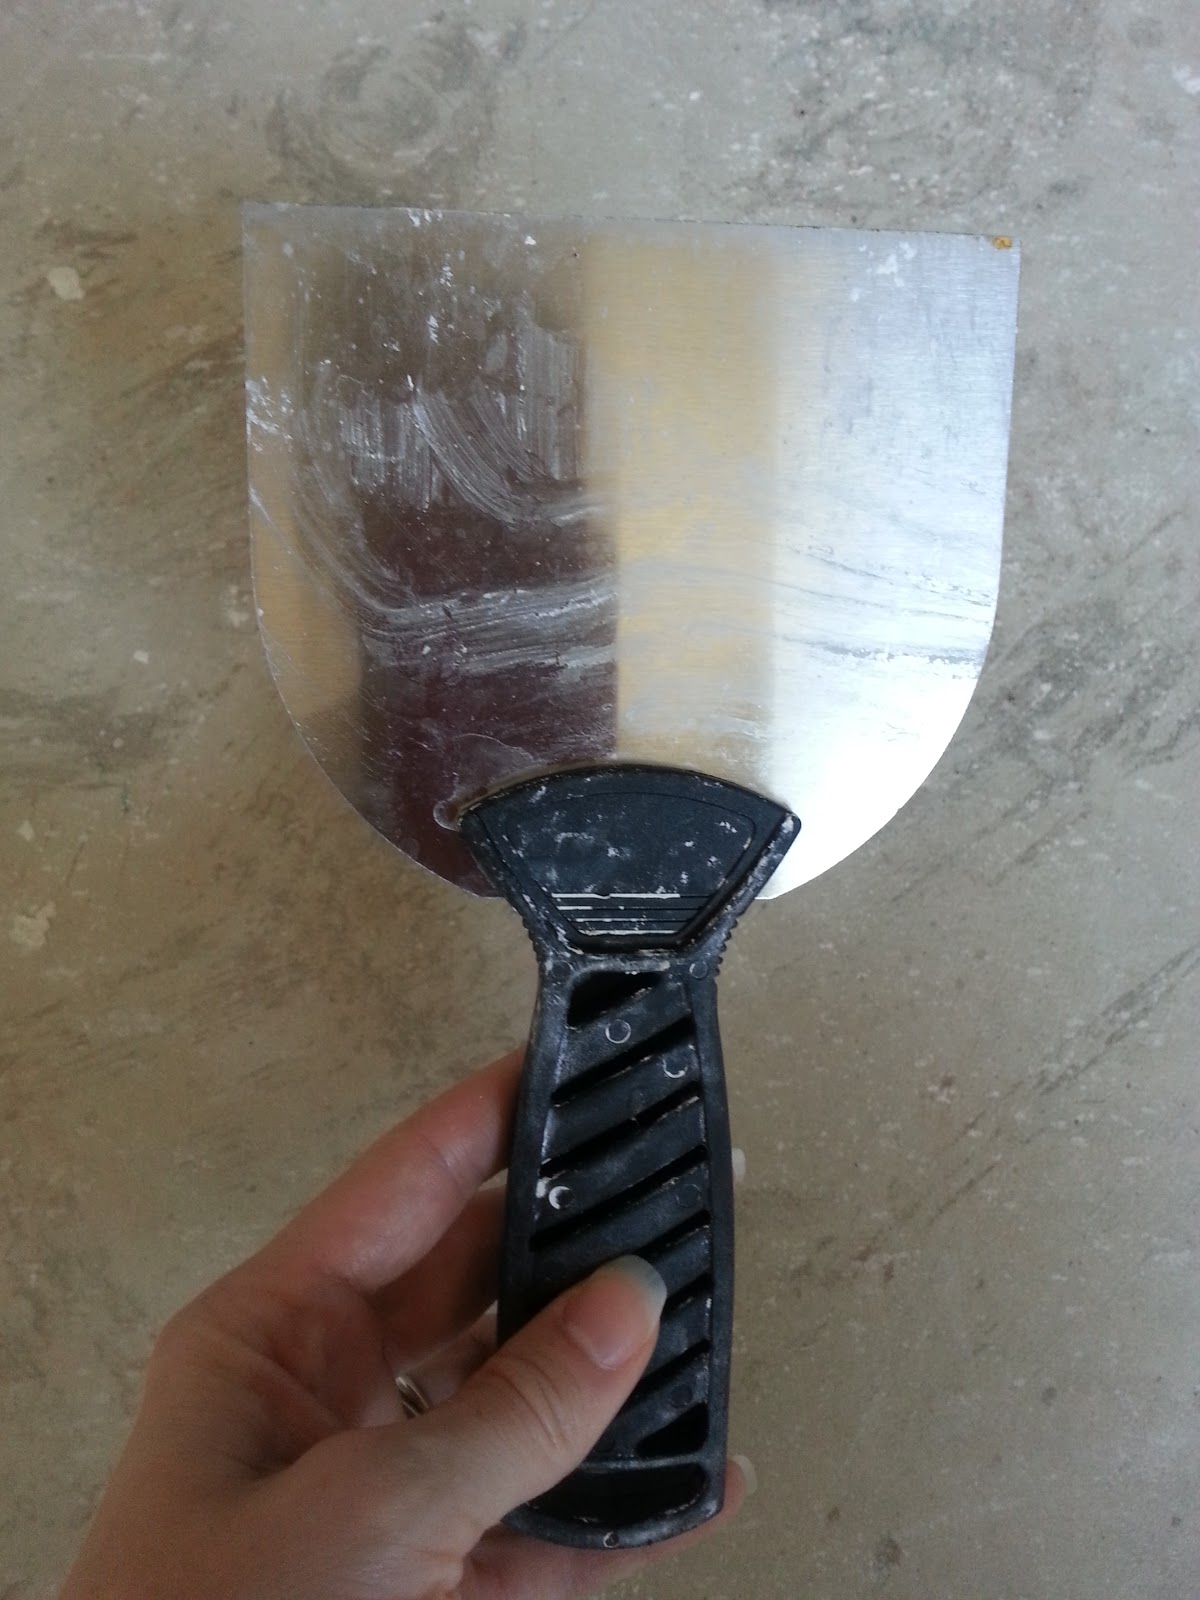
5.) It is recommended to use plastic scrapers when your popcorn is not painted to cut down on the damage to the sheetrock. Plastic scrapers did not work with our painted popcorn. We used a 4" & 6" metal scraper/putty knife. The wider the better to cover more area. Most home/hardware stores carry these along with specific stipple scrapers that are even longer than 6". 


6.) You have three scraping options. A.) Buy a scraper with a built in waste containment feature. We found this one for $189.95! (Maybe if we were going to become professional popcorn removers). This one will hold a bag for easier clean up for $21.99. B.) Hold something below the area you are scraping to catch all the waste. We used a metal paint tray for this in the hallway, but it did get heavy. The nice thing about this is you can dump the waste directly into the trash can. C.) Scrape everything onto the floor. It is easier but makes for a bigger mess and more cleanup. This was how we did it in the guest room.


When you start scraping, the stipple will come off in chunk-like sections because the paint is holding it together. Its nothing like the falling unpainted pebble pieces you see in the videos. If it is soaked, it will come off like butter. If your knife/scraper gets stuck, stop and apply more water. It is not ready to be removed and you could cause damage by forcing it. 


You will have to go back over the corners of the walls. It was more difficult to remove in this area. It was hanging on for dear life and wanting to peal my wall paint off with it. I used a razor to cut the paint and then a rag to wipe it away. 


Scrape, scrape and scrape some more. When you are finished you can pull up all the plastic and discard of it. You will still have a mess to clean up, walls to wipe down and flooring to vacuum. Your ceiling will need to be completely dry before you can putty imperfections and start sanding but I will save that for another post. 


It is a TON of work but the ceiling already looks higher and brighter and we haven't even finished it! Two rooms down, only the office, master bedroom, living room and dining room to go.

Stay humble
Amber

Wednesday, July 9, 2014

Recipe box & thrift store scores

Hi guys! Are you sick of me changing my blog header and background design yet? I'm SICK of it but I cant make up my mind. 

I was able to brave the 500 degree weather and swing by my favorite thrift store yesterday. As organized as I am, I am ashamed to admit that my recipe storage consisted of a wooden box with folded papers crammed inside. No alphabetizing or order to it what-so-ever! Its probably because I don't like to cook, so its not my first priority but the disorder was making the task even more unbearable for me. Then I found this address card box.


I thought it might help me keep my sanity in the kitchen but it was hard on the eyes.


So in flew DUCK Fabric to save the day. This stuff is pretty cool! I picked mine up at Walmart by the decorative duct tape. It was an easy project I could do INSIDE my air conditioned home. If it cant be done inside, its not getting done until summer is over. 


Its easy to use. Peel away the back liner and apply evenly. I used an exacto knife to cut around the label plate. That was more difficult as it doesn't cut clean and leaves strings, but I managed. 


I would like to eventually get everything sorted by lunch, dinner, breakfast, Drinks and written on new recipe cards so the names are easier to see but its a huge improvement.


I found a few other items at the thrift store. Like this copper foil art of a mountain lion. I will probably refinish or paint the wooden background. 


Then there is this milk glass bowel I had to leave with. 


I also dug this painting. I think it will look awesome in a new frame. 


And last, I picked up two new bottles for my bottle collection. I love the yellow leaning one!


That's it for me. Have a wonderful day!!

Amber

Tuesday, July 1, 2014

Have a seat

Hi guys! Its July 1st and I realized that I haven't posted anything since April. Time flies when you are busy. I was also down and out with a head cold. No fun! But I will tell you what is fun...a bench up-cycle! This guy came home with me after I paid a whopping $5.00 to the thrift store.


Someone had stapled a towel over the seat cushion to cover this rip in the vinyl.


I removed the towel, vinyl and what felt like 10,000 staples. See all the staple holes? (Ignore the white chair cushion below it. That's another chair reupholster project I'm working on)


I recovered the seat cushion with this scallop fabric from Joann's I had laying around. You might recognize it from my logo photo. 


I gave the wood a nice sanding.


After I primed, painted and recovered the seat cushion with my fabric, I had this new addition to my office.


I built a large L shaped desk for my office. (Ill get a post written about that some day) On one side sits our desktop computer, where we use an office chair. The other side of the desk gets used for art/craft/projects. This bench is working out perfect for that spot! Its small enough to tuck under the desk and isn't fighting the chair for floor room. It makes me happy. Who knows, maybe I will become more productive because I will want to sit on it all the time...maybe not. 


Has anyone scored a $5.00 treasure lately? I want to hear about it. Have a wonderful day!

Amber


01