Friday, October 23, 2015

Hanging By A Wire

We desperately needed a new media center. This little black one just wasn't cutting it. It was too small and having the wires exposed looked tacky to me. It was also in the way of our fireplace key valve. Every time we moved the TV, the cord concealer would rip away from the wall. It was time to hire someone to do a proper wire concealment behind the wall and get something that hid our game console, router and cable box.


I called a recommended Installation Company. 1.5 hours later the wires were in the wall and we were left with a few patches. I really wish I had done this sooner!


After looking online and failing to find a media center with the measurements needed, I decided to design and build my own. Here is what I came up with.


I was inspired by this media stand/sideboard from Target. So I purchased my lumber and got to work. I had Home Depot cut the wood to size and I took it home to stain. 


I started with Miniwax Pre-Stain wood conditioner. After that dried I mixed Miniwax Early American 230 & Dark Walnut 2716 and applied it according to the directions. I let it dry 2 days and then assembled the outside.


Next, I added the hardware I needed to attach the legs. 


Then came the shelves and doors which I failed to take a picture of. (Sorry) My awesome father came to my rescue with his router to get the holes cut out. Once it was complete I was left with this creation...


Shhh don't tell anyone but the door on the right was put on upside down. Haha


The black basket below stores what is left of our DVD collection. The basket on the lower shelf houses X-Box accessories. 


Art books, a round basket full of small LP's, candles and a vintage pineapple live on the first shelf. 


This map of Mexico is special to us because it's where we spent our honeymoon. The yellow box contains the coasters (that never get used). Our favorite photo booth picture and incense holder sit on more art books. 


I found this electric meter lamp at a yard sale. I know what you're thinking "I should have left it at the yard sale!" but for whatever reason I gave it a new Edison bulb and fell in love with it.

Funny back story....Have you heard of Lindsey from the blog called Better After? She has a yearly "ugly lamp" contest that is pretty entertaining. Guess what lamp showed up in her contest? Yep, a similar one to mine. Check it out, its #4.


So there you have it. No more wires exposed and I got the perfect, customized media center with a little bit of "elbow grease" as my dad says. 


BEFORE
AFTER

Tuesday, July 7, 2015

Table Fit For A Dog

As you probably know, I share my house with two large dogs. They each had their own elevated metal food bowel stand, but Koda's stand was always coming apart while he was eating. The food and water would come crashing down making a huge mess. I got sick of cleaning it up and watching my dog eat in fear with anticipation that the thing would collapse.  

So I decided to make one myself (which always means my dad gets dragged into it). Two stands take up more room and there was no reason to have two water bowels. I wanted one water bowel in the middle and two holes on each end for their food bowels. 


 I purchased four 12" wooded table leg from HD and used some MDF board I had laying around. My father used his router for the bowel openings and even added some finger holes to make getting the bowels in and out easier. I added some 1.5" molding around the sides and sprayed it with Rust-oleum Ultra Cover in Sun Yellow. The last step was applying Famowooda Glaze Coat to make the whole thing waterproof. 


 I love it and my dogs... could probably care less. All they care about is what is in those bowels. I plan on adding a new layer of epoxy every now and again to keep it in good condition. 


Have a great day!
Amber 


Tuesday, March 31, 2015

Outside Spring Time Spruce Up

Our new convection range was scheduled to be delivered last Saturday. I received a delivery ETA of 3:30AM-5:30PM. Yep, you read that correct. A 14 hour window! After I was done laughing I decided to take full advantage of being held captive at my home and I made plans for some spring planting to take place. Things had been looking pretty sad around here. After some new flowers, shrubs and mulch, I would say its looking much better!


I also purchased a decorative trellis to go on either side of our house. I wanted to balance out the flower bed by the front door. It always looks so empty until the lantana fills out every spring. 


We replaced the lights on our home last year and I have yet to share them. These have replaced the old white ones we used to have flanking the garage. 


And in case you forgot what the old ones looked like. 


The one by the front door was replaced as well. We went from this builder grade light...


To this...much better!


I made this H door hanger out of old wood, ribbon and a collection of buttons.  


One last comparison for fun! What our house looked like when we purchased it..


What it looks like now...


Have a wonderful day!

Amber

Tuesday, March 24, 2015

Cabinets & Backsplash

The cabinets are FINALLY painted. Boy did that turn into a mess. The paint let me down. The more coats I applied the worse it got which pushed my procrastination over the edge. It should not take two months to paint kitchen cabinets people! 

We are proud new owners of tuxedo cabinets. I've always been in love with them. The top cabinets are painted Olympic One True White and the bottom painted Olympic One Volcanic Ash. I am already loving having the lower half darker since it is at dog level. Our dogs come and go as they please through their dog door and you can bet they love to come inside on a rainy day and shake off on every thing!


As you can see, our drawer pulls are installed but we still need to order and install the cabinet door knobs. 


I am also thinking about painting the end of that built-in cutting board so it blends in better.


We purchased a new over-the-range microwave oven (to free up our counter tops) and of course that purchased lead to a new convection oven. I would love to get the matching dishwasher and fridge but those will have to wait. 

So on to our backsplash. I had two in mind when I started planing out this kitchen upgrade. One for the "temporary-while-we-save-up" phase 1 and my dreamy white subway tile for phase 2. 

For phase 1 I was throwing around these ideas:


  • Sawdust and Embryos has a wonderful post on painting a backsplash. I love the colors they use. It looks so real.


  • Gray Eyed Scorpio also has a post on one she painted in her kitchen. It really highlights the great thing about paint. If you hate it you can always paint over it!


But first place went to this chalkboard painted backsplash on The Blooming Hydrangea. I love the whole kitchen! Its similar to the style I like and its shaped exactly like my kitchen. I thought I had it figured out but then I started thinking about trying to make those straight lines on my bumpy orange peel textured walls. Phase 1 was scrapped and I jumped head first into phase 2. 

White subway tile has always been clean and classic to me. You can love it or hate it but its simplicity makes it timeless and the fact that its so versatile doesn't hurt either.   


 Source
Source
Source
Source
In the beginning, my husband and I wanted to try to install the tile ourselves. We knew we would save allot of money and there are a million DIY tile posts to walk us through it but I'm not so sure now. I think we are perfectly capable of pulling it off but the question really is...do we want to? We are coming to the end of our home remodel that has lasted 12 long months. We are burnt out and just want it to be done. I am in the process of picking our tile and grout color. We will see who ends up installing it but either way there will be shiny white subway tile in our kitchen soon! 

Amber


Friday, December 26, 2014

Under Our Feet

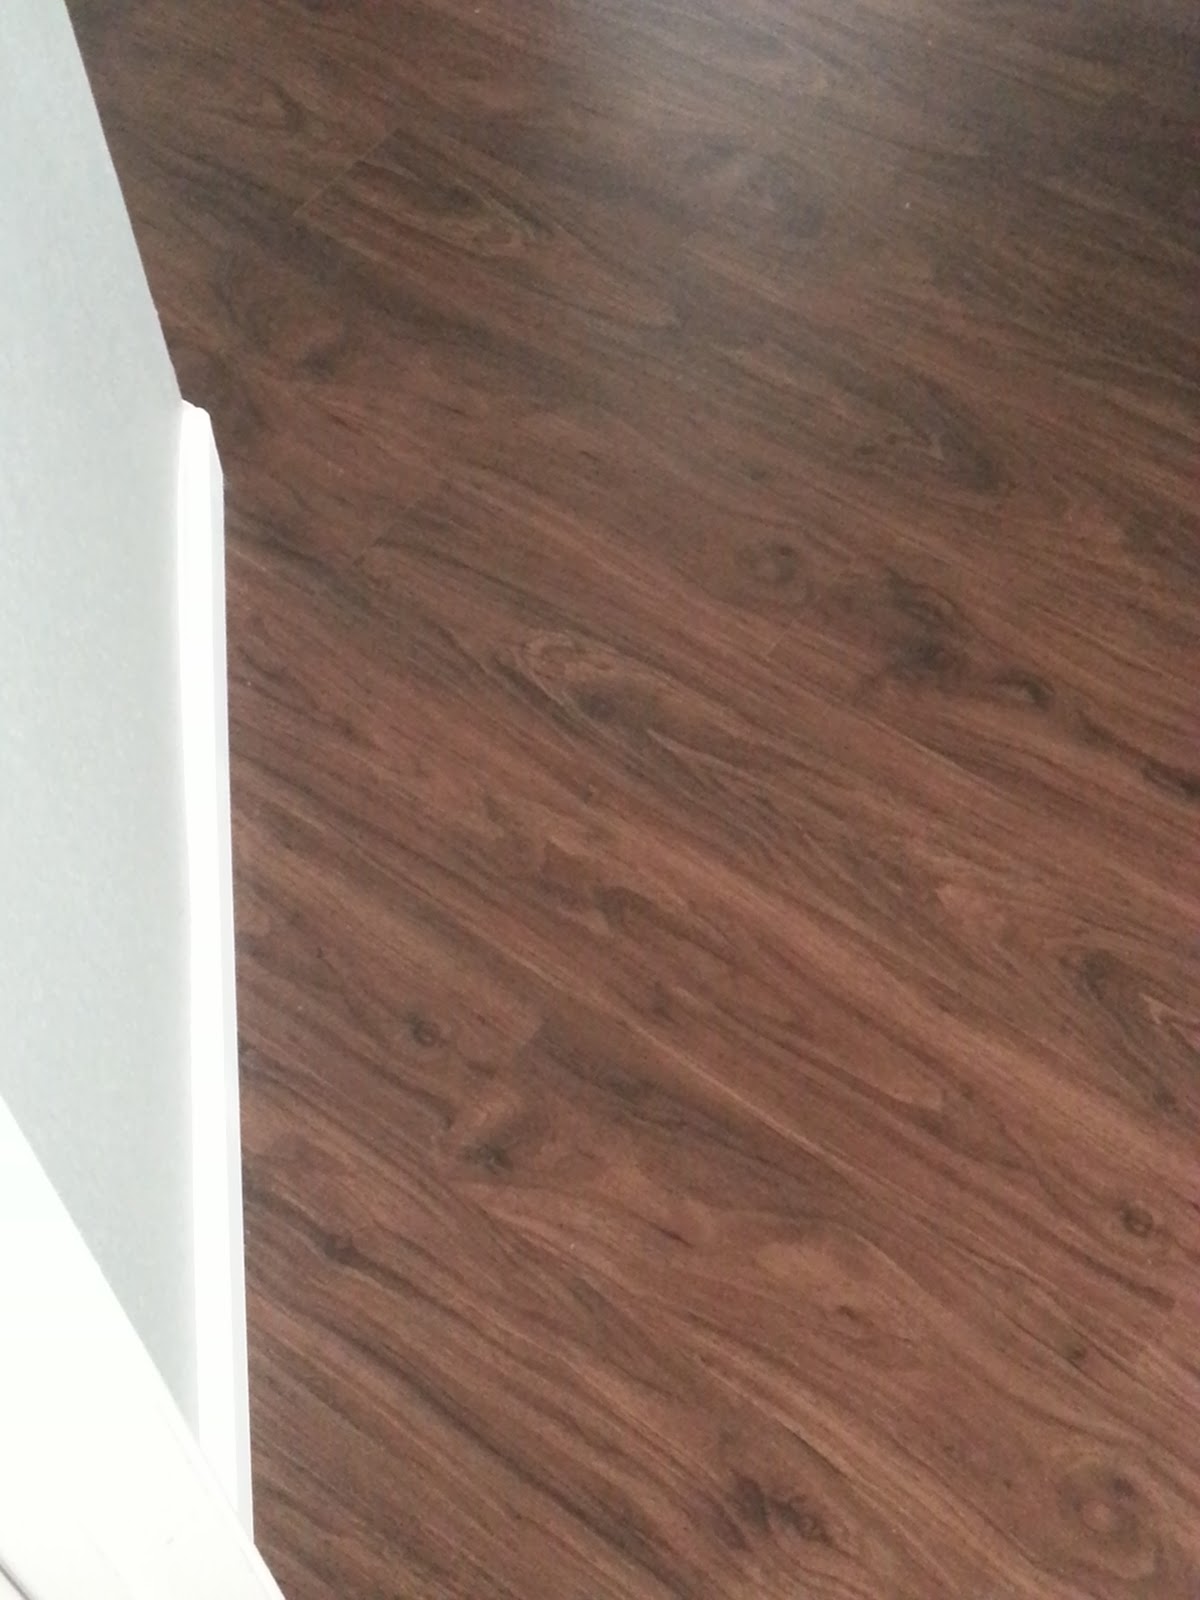
The time has finally come to talk about our flooring! We started talking about this project in February of 2014. If you missed it, you can catch up HERE. We were contemplating laminate and vinyl planking. After I wrote that post we also considered stained concrete and tile. After many samples, estimates and research we landed on Allure Traffic-master Vinyl Planks in dark walnut. 


It was a gamble. It took some adjustment on my part to get over the stigma of vinyl. I also had to over look this scary post I found from 2009 talking about the horrible smell and toxic glue they use. But we kept coming back to it because it had so many features that tile, concrete and laminate was lacking. 

We loved that it was softer than concrete and tile. It was warmer and had better sound absorption, but most importantly it was water resistant and durable. With two large dogs we didn't want to waste our time and money on new flooring only to have it destroyed. 


We installed it ourselves. The first two hours were the most difficult but once we got the hang of it, it went rather fast. It took four weekends to complete. We broke it down into small sections so we wouldn't get burned out. I wanted a seamless look so we continued it through the entire house using the Allure Under Transition strips. I would highly recommend these if you want a seamless installation. We found out the hard way how difficult it is to lay these planks backwards. I wish the HD store associates would recommend them with purchase of Allure flooring. The strips can only be purchased online so make sure you have them before you start the installation.


We have lived with these floors a few months now. So far so good. We never experienced a bad odor from the adhesive. They have endured water spelt on them, muddy dogs walking on them, and furniture being moved. They are easy to clean. I run the vacuum over them every other day and the Swiffer Wet Jet once a week. Like any floor, the dark color does show dirt so if you want something low maintenance I would stick to the lighter colors. The floor has a texture to it and feels like wood grain. We also like the fact that it is a floating floor so they will be easy to remove in the future if we wish to do so. 


So there you have it. Sure, they don't replace the feel and look of a beautiful wood floor but these floors work for us, our dogs and our life style. Vinyl has really reinvented itself in the last few years. Have you installed a new floor lately? If not, what floor are you dreaming of living on? 

Stay Humble
Amber


01