

As we started, it was apparent that our popcorn had been painted over. That is BAD news in the "removing popcorn world" so I jumped back online to search "remove PAINTED popcorn ceiling" and there was not as much information available. The information I did find was telling me that I should hire a professional but I like a good challenge. So I'm writing a post about my experience, not because I am a pro or anything but the world could use a few more tips, tricks and instructions on this daunting task.
Before you start you should consider the year your home was built. "If your home was built before 1979, the chances are very good that your popcorn ceiling contains asbestos. In fact, it’s not uncommon to find asbestos in acoustic ceilings installed in the 1980s because existing inventories were exempt from the 1978 ban. You can test for asbestos by submitting samples to a laboratory. The cost is minimal and labs are generally listed in the Yellow Pages under "Asbestos -- Consulting and Testing."
I found that info in this article.

Items needed: Respirator, eye protection, metal scrapper, sprayer, plastic sheeting, masking tape and towels for clean up.

1.) Remove everything! This gets messy X1000 of whatever your definition of messy is. It is messier than doing one without paint because you have to use more water.


3.) We purchased a small hand held sprayer from Walmart. This sprayer worked fine but you will have to refill it often and that makes the process even more time consuming. We are going to buy the larger 2 gallon sprayer for the rest of the house. If you are doing more than one room, I recommend buying the larger sprayer.

4.) Spray generously with warm water. We would spray 2x3 areas at a time and hold the water stream in place for 4-5 seconds. It will be raining in your home! Everyone cautions you on the amount of water you use but with painted popcorn you have to drench it. The paint repels the water (which is why "painted" popcorn is bad in the first place) so it takes twice the amount of water. After you spray, let it sit for 3-5 minutes to soak in. Try to avoid spraying the exposed sheetrock.
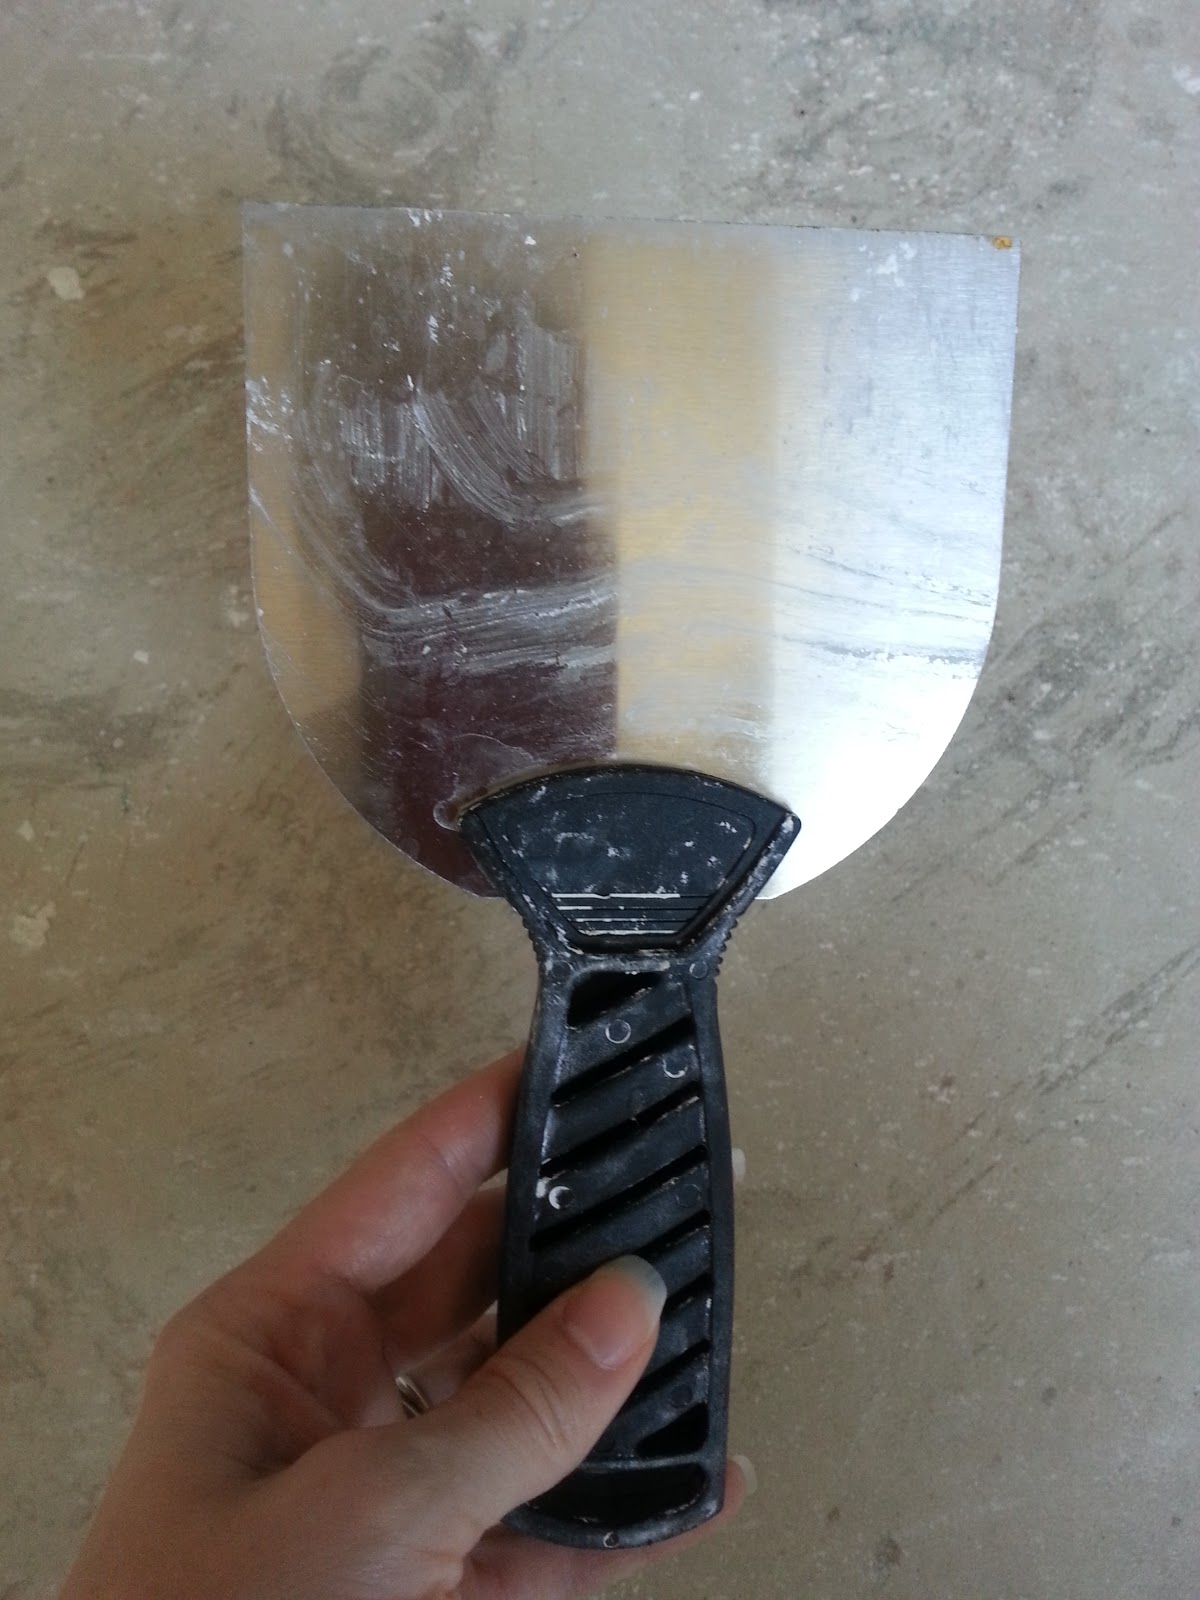
5.) It is recommended to use plastic scrapers when your popcorn is not painted to cut down on the damage to the sheetrock. Plastic scrapers did not work with our painted popcorn. We used a 4" & 6" metal scraper/putty knife. The wider the better to cover more area. Most home/hardware stores carry these along with specific stipple scrapers that are even longer than 6".
6.) You have three scraping options. A.) Buy a scraper with a built in waste containment feature. We found this one for $189.95! (Maybe if we were going to become professional popcorn removers). This one will hold a bag for easier clean up for $21.99. B.) Hold something below the area you are scraping to catch all the waste. We used a metal paint tray for this in the hallway, but it did get heavy. The nice thing about this is you can dump the waste directly into the trash can. C.) Scrape everything onto the floor. It is easier but makes for a bigger mess and more cleanup. This was how we did it in the guest room.


When you start scraping, the stipple will come off in chunk-like sections because the paint is holding it together. Its nothing like the falling unpainted pebble pieces you see in the videos. If it is soaked, it will come off like butter. If your knife/scraper gets stuck, stop and apply more water. It is not ready to be removed and you could cause damage by forcing it.

You will have to go back over the corners of the walls. It was more difficult to remove in this area. It was hanging on for dear life and wanting to peal my wall paint off with it. I used a razor to cut the paint and then a rag to wipe it away.

Scrape, scrape and scrape some more. When you are finished you can pull up all the plastic and discard of it. You will still have a mess to clean up, walls to wipe down and flooring to vacuum. Your ceiling will need to be completely dry before you can putty imperfections and start sanding but I will save that for another post.


It is a TON of work but the ceiling already looks higher and brighter and we haven't even finished it! Two rooms down, only the office, master bedroom, living room and dining room to go.
Stay humble
Amber
No comments:
Post a Comment